With flatlandfuels awesome sale on Geisha Light
freecoasters, and about 2 months testing, I decided to
finally explain what I did to my freecoaster to make it
work with tight studs. The fix involves modifying the
spacers and since flatlandfuel gives you an extra set,
than you really have little to lose by attempting this.
PURPOSE:
To make the studs tighten down without putting any pressure
on the bearings. I hate having loose parts! This will make it
work like it should, like it was intended to, so you can tighten
down the studs without putting pressure on the bearings.EDIT I'm not so sure this is a good idea, read last post.
DAMN
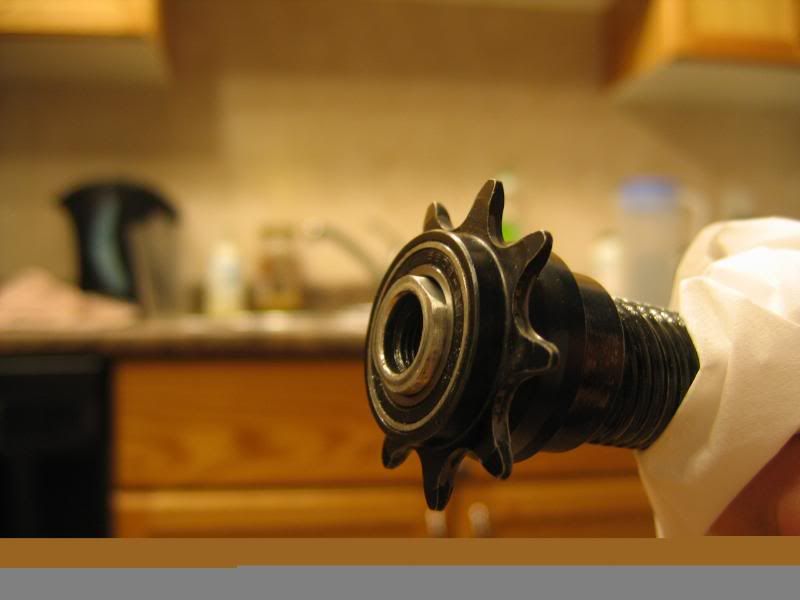
This is how much space the assembled mechanism allows for the driver spacer.
This is what it looks like with the driver spacer installed. Notice that it is not
flush, the axle stops short of being flush with the spacer. As a result, there is
side pressure on the bearings when you tighten down the stud as the axle
tried to accomodate the space.
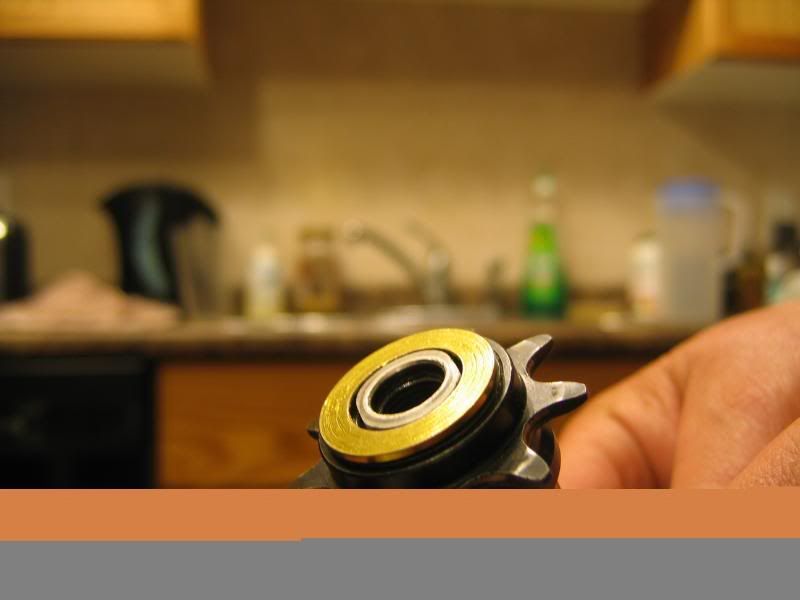
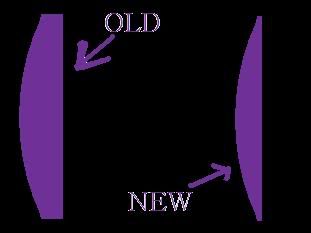
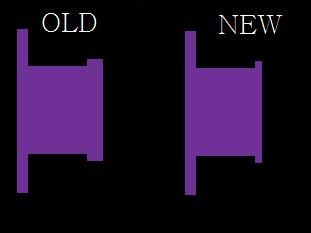
SOLUTION: I filed down the driver spacer as shown in the picture below.
I only touched the flat side, do not grind the non-flat side.
I had to take it to a belt sander and it took about 45 minutes cuz it's a hard
metal.
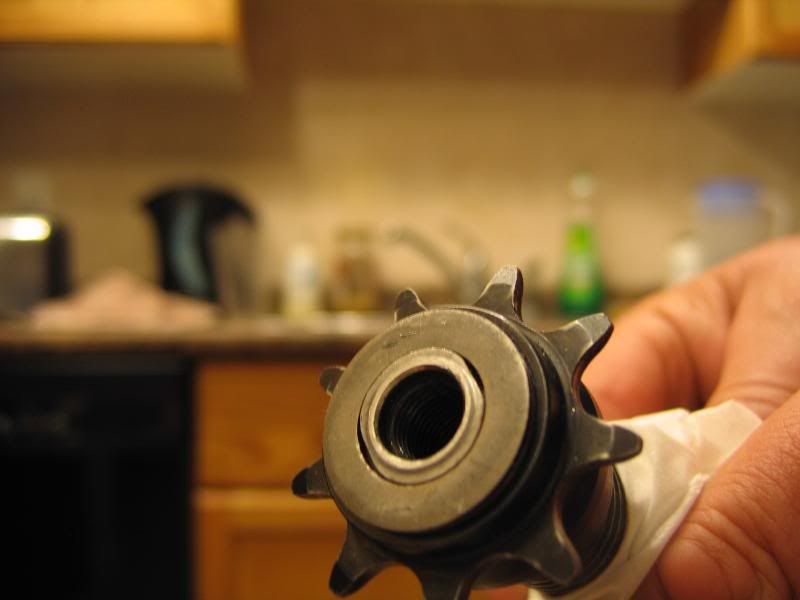
This was what it looked like after sanding it to be flush. You can see that it is now
flush.
Next thing I did, was do the same, but only to the other side's spacer,
the HAT-spacer.
Beginning with the shaving of the driver
spacer, and then moving onto shaving the
non-driver-side-HAT-washer. By shaving, I
mean any means neccessarry to remove the
material, belt sander works alright. You
can't possibly hold the driver spacer in
a vise, so you have to be pretty creative.
DRIVER SPACER:
For the driver spacer, I would periodically
fully tighten my driver-side stud with
everything in place to check to see if I
had taken off enough material from the washer.
If the wheel had trouble spinning, than I
knew that more material was needed to be removed.
Once the wheel spun freely than it was time
to shave the HAT-spacer on the non-driver side.
NON-DRIVER-SIDE-HAT-SPACER
I would periodically check to see if the wheel
would spin ok by tightening BOTH studs with
everything assembled. If the wheel didn't
spin freely, than I had to take more material
off the non-driver-side-HAT-spacer. If the
wheel spun freely, then the process if done.
NICE!
 Latest News
 Live Feed
 Archive
 RSS Feed
 Latest Parts
 Bike Configurator
 My Setups
 Latest Spots
 Add Spot
 Events
 Add Event
 Enter Forum
 iPhone Version
 Register
 Messages
 My Topics
 Search
 Help
Help Login
Login My Profile